August 19, 2024
MICROBLADING NUMBING PROCESS & IMPORTANCE OF QUALITY NUMBING GEL
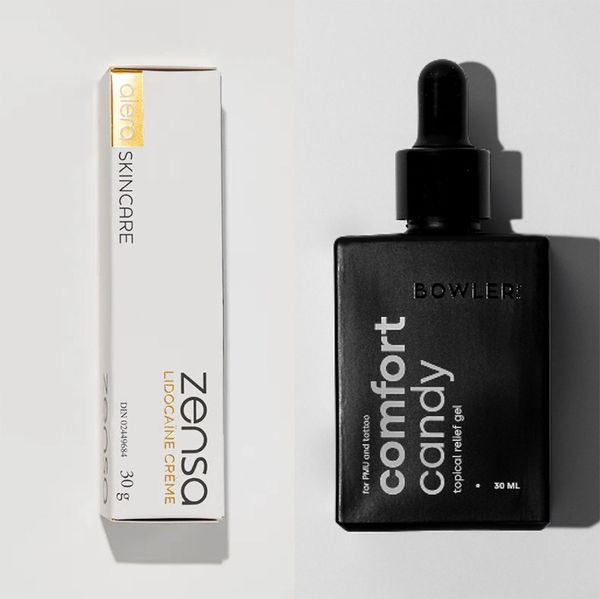
Microblading has become an increasingly popular beauty trend in recent years, offering perfectly shaped and natural looking eyebrows to clients. However, the thought of needles near your face can be intimidating, which is why numbing the area before the procedure is essential for a comfortable client experience. In this blog post, we will discuss the microblading numbing process, explain why using a quality numbing gel is crucial, and highlight two of the most popular products: Comfort Candy by Bowler Esthetics and Zensa Numbing Gel from Alera Skincare.
WHY THE NUMBING PROCESS IS ESSENTIAL IN MICROBLADING
Numbing the skin before microblading not only ensures a pain-free experience but also allows the technician to work more efficiently and accurately. When the skin is numb, the client is less likely to flinch or move during the procedure, resulting in cleaner and more precise strokes. However, not all numbing products are created equal, which is why it's crucial to choose a high-quality numbing cream and secondary numbing gel like Zensa and Comfort Candy.
STEP-BY-STEP GUIDE TO THE MICROBLADING NUMBING PROCESS
STEP 1: MAP OUT DESIRED BROW SHAPE
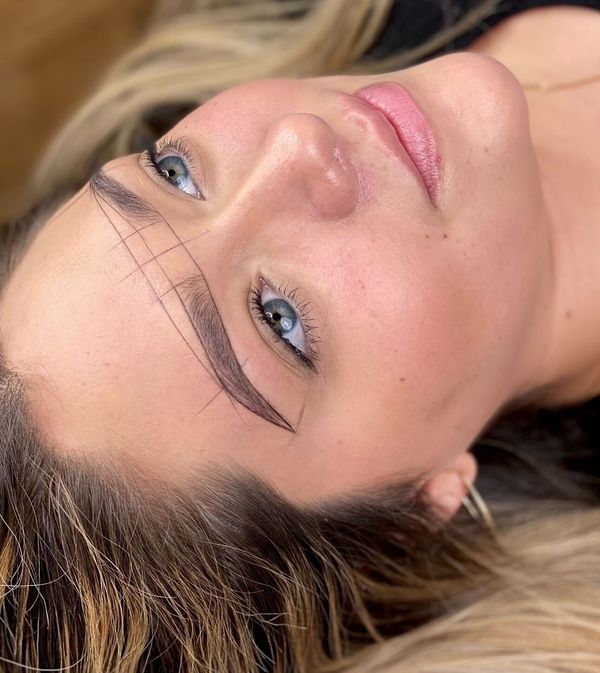
Before applying any numbing gel, it’s essential to map out the desired shape of the eyebrows. Thin, crisp mapping lines are key, as thick or blurry lines can be easily smudged or erased when the numbing gel is applied. Use a fine-tipped, sterile marker or a hard wax mapping pencil to ensure they won’t budge.
PRO TIP: To create thin, crisp mapping lines, lightly outline the eyebrow shape first, ensuring symmetry with a ruler or stencil. Then, refine the lines with a hard wax pencil for sharper definition. The goal is to make the lines visible but not thick enough to be smudged by the numbing cream.
STEP 2: APPLY ZENSA NUMBING GEL
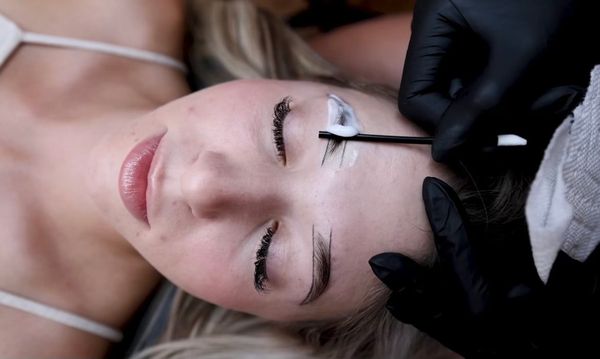
Once the mapping is complete, it’s time to apply the numbing gel. Use a stick applicator, like the back of a lash wand, to layer Zensa Numbing Gel evenly over the brows. Avoid using cotton swabs or Q-tips, as these can smudge your carefully crafted mapping lines.
APPLICATION TIPS:
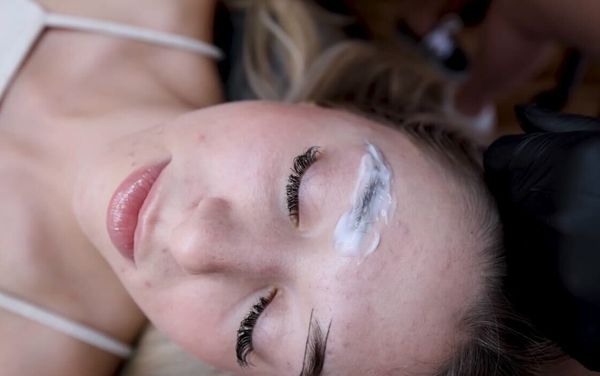
- Apply a quarter-sized amount of Zensa, ensuring full coverage under the brow hair and around the outline.
- You do not need to cover the brows with anything to hold the heat in
- Let the gel sit for 15-20 minutes, no longer, as over-application can affect the skin’s texture.
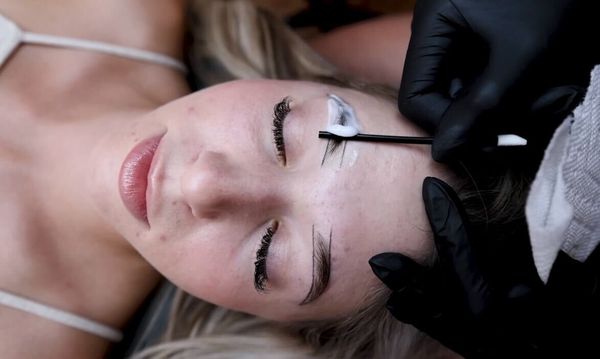
Remove numbing with the stick you used to apply. You can simply lay the stick flat at the head of the brow, then slowly glide on the skin with pressure to remove the numbing from head to tail. After the numbing is removed, blot gently with a paper towel to ensure the numbing is absorbed, and that the skin is dry.
STEP 3: START THE MICROBLADING PROCESS
With the skin numbed and prepped, you can start the microblading procedure. If applied correctly, the numbing gel should ensure that your client experiences minimal discomfort, allowing for precise strokes. Remember, technique matters—excessive pressure during blading can cause pain, regardless of the numbing product used.
For more information on microblading depth, check out our advanced online microblading course.
Once the first pass is completed, now it’s time to apply the secondary numbing.
STEP 4: APPLY COMFORT CANDY NUMBING GEL AFTER FIRST PASS
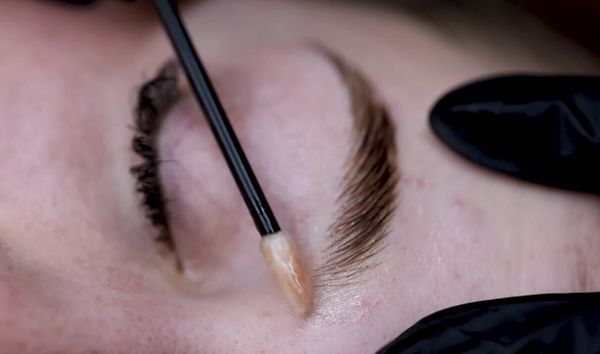
After the first pass, enhance comfort by applying Comfort Candy Numbing Gel. Shake the bottle well, dispense half a dropper into a sterile cup, and use a lip applicator to rub it into the brows for 5-10 seconds. This step is crucial for maintaining numbness throughout the procedure.
TIMING TIPS:
- For dry skin, leave the gel on for 30 seconds; for oily skin, up to 2 minutes, no longer as it can affect the skin texture.
- Reapply after each pass as needed to keep the client comfortable. Can be done 2-3 times throughout procedure.
PRO TIP: Leave Comfort Candy on for 2 minutes at the end of the procedure to take away any redness and create a “halo” effect around the brows, perfect for final photos!
CONCLUSION: THE IMPORTANCE OF QUALITY NUMBING GEL IN MICROBLADING
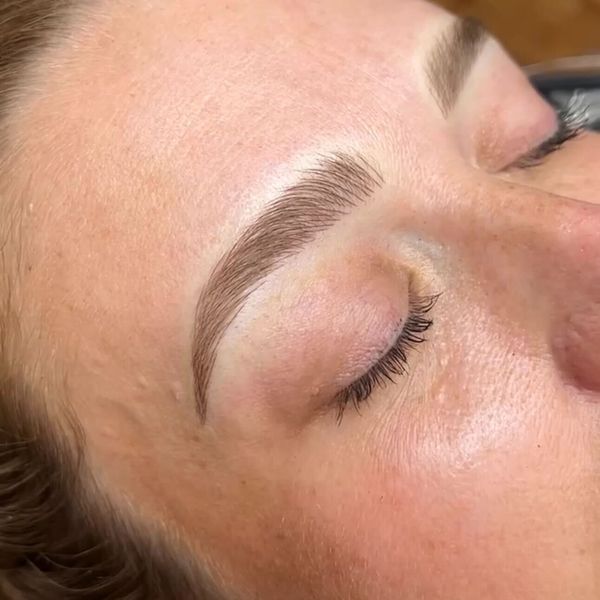
Using a high-quality numbing gel is essential for ensuring a comfortable and successful microblading procedure. By following the steps outlined above, you can provide your clients with a pain-free experience and achieve beautiful, precise results. Choosing the right products, like Zensa and Comfort Candy, will ensure a smooth and pain-free microblading experience with beautiful results!